Natural stone surfaces like granite and marble are gorgeous, but they’re also often porous and vulnerable to staining and discoloration if left unsealed. Sealing your stone helps protect its appearance and extend its life. While sealing can sometimes be a DIY project, it’s important to remember: if your stone is already dull, scratched, hazy, cloudy, or stained, professional restoration to create a smooth surface is the best practice before sealing. Stoneshine’s experts serve New York, New Jersey, and Connecticut, and we’re always here if you need help.
Here’s a step-by-step overview of what sealing typically involves:
Step 1 – Choose the Right Sealer
Always select a sealer specifically designed for natural stone. A high-quality solvent-based, penetrating sealer will soak deep into the pores, blocking liquids from being absorbed. At Stoneshine, we recommend using MB Stone Care products (mbstonecare.com) for homeowners who want to tackle sealing themselves. These are products formulated for natural stone and trusted by experts.
Step 2 – Prepare the Surface
Preparation is key. If your stone was recently installed, allow proper curing time before sealing, or you may trap moisture inside. Clean the surface thoroughly with a broom or mop for floors, or a microfiber cloth with a pH-neutral cleaner for counters. Any dirt, dust, or grease left behind will be locked under the sealant. Let the stone dry completely before proceeding.
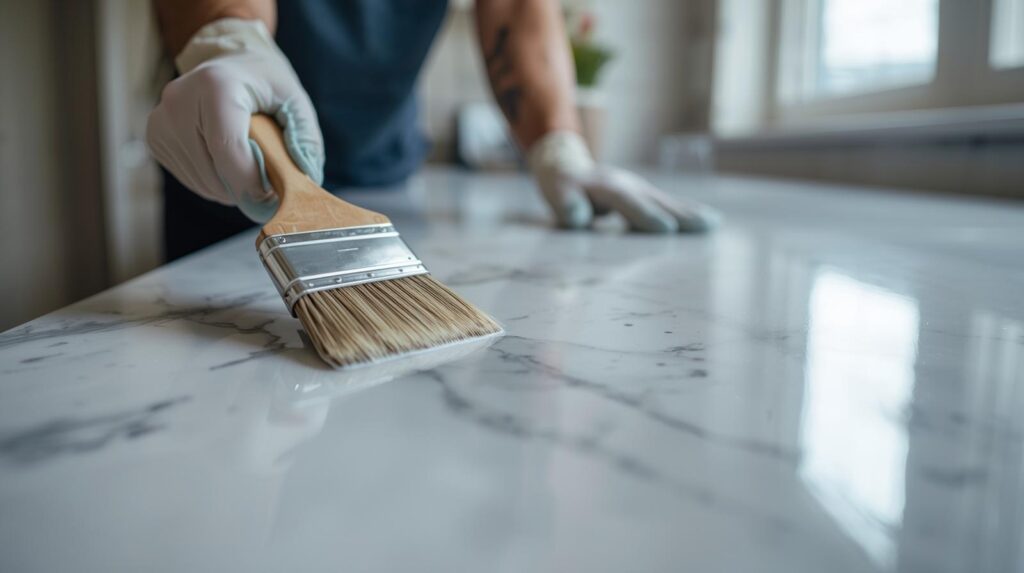
Step 3 – Apply the Sealer
Using a microfiber cloth or applicator, spread the sealer evenly across the stone. Work in manageable sections. Avoid letting the sealer dry on the surface—buff away the excess before it streaks or leaves a cloudy residue. Keep a rag dampened with sealer nearby so you can reapply and rebuff areas as needed.
Step 4 – Allow to Dry
Follow the drying instructions on the sealer’s packaging. The stone should look natural and free of wet patches once the sealer has set.
Step 5 – Reapply if Needed
Many stones require more than one coat. Apply additional coats until water placed on the surface beads up instead of soaking in. This is the best test to know your stone is properly sealed.
Stoneshine’s Professional Advantage
These are general guidelines—different stones (marble, granite, travertine, terrazzo, etc.) may require slightly different care. If you’re unsure about the process or your stone already shows wear, contact Stoneshine. In addition to recommending MB Stone Care products for DIY maintenance, we also offer long-term sealing solutions like MORE® AntiEtch®, a revolutionary protective coating that keeps marble surfaces stain- and etch-resistant, ensuring they stay beautiful and easy to clean for years to come.
![]() Call us today to schedule a free estimate with a Stoneshine stone care expert serving NY, NJ & CT.
Call us today to schedule a free estimate with a Stoneshine stone care expert serving NY, NJ & CT.